

So last week, we featured floral preservation expert Kelly Bride at The Bride’s Floral Mortician walking us through the start of the floral preservation process with the bridal bouquet that Shannon Behnke from The Bloom Lab created for our “Let’s Do Brunch” styled shoot with wholesale flowers from J&D Wholesale Flowers. Now, in this blog installment, she completes the process and shows us her final pieces. Want to know more about the floral design process and what’s possible for your wedding day florals? Then read on dear Real Weddings readers! Take it away Kelly!
Your wedding is over and now you are left to figure out how to preserve your flowers. If you’ve hired us we have a few options to get the flowers to us.
1. We will pick up the blooms at the end of an event diminishing the amount of time they need to be babysat.
2. We allow client’s to drop their flowers off at our studio. If a client is bringing them to us over the weekend, I request a few things to keep the blossoms looking their best.
1) Place a plastic bag over the design to hold moisture into the petals
2) Place the stems in a vase with water in the refrigerator. Not too far back because it will freeze.
3.) If a client is shipping their flowers to us I have a few suggestions.
1. Place a plastic bag over the blossoms to hold moisture into the petals.
2. Place a wet paper towel and bag over the stems of the bouquet to hold moisture into the stems.
3. Place wrapping around the bouquet and over the top so it doesn’t wobble in the box and sets firmly in place.
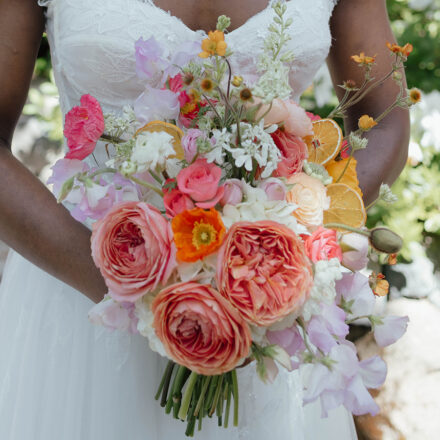
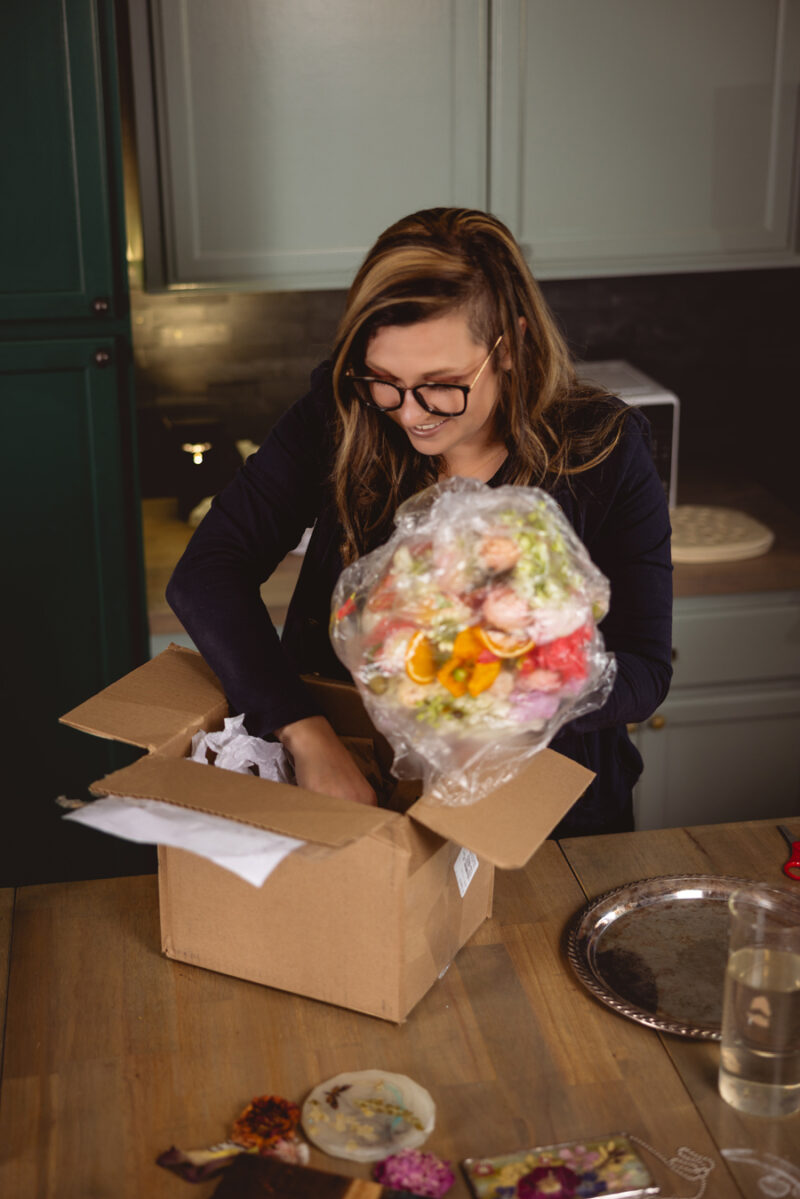
Real Weddings shipped me the beautiful bouquet that floral designer Shannon Behnke from The Bloom Lab created for their “Let’s Do Brunch” styled shoot with wholesale flowers from J&D Wholesale Flowers, following the advice I gave above.
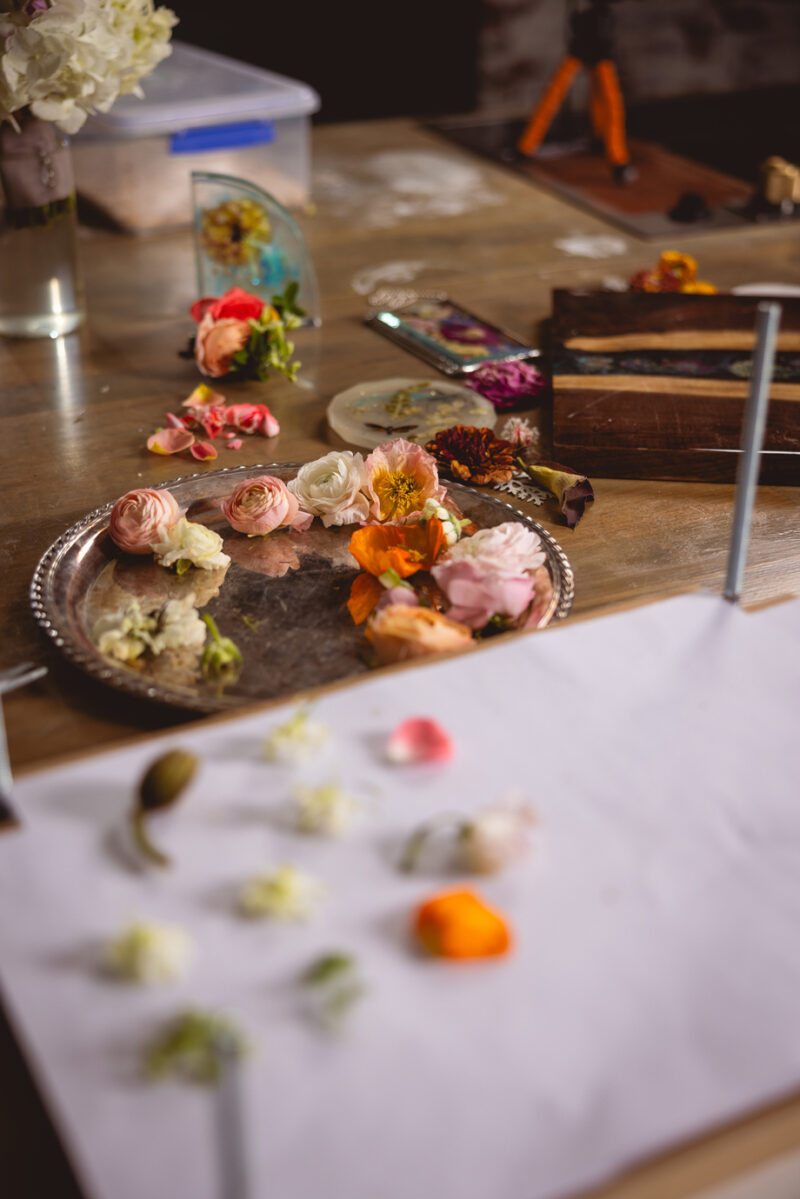
Once a bouquet is received, if it is not already in water, I will cut the stems and place it in water. This rehydrates everything and gets the blossoms the happiest they could be.


I evaluate the quality of flowers we have and keep in mind what project we are making. If we are making something in resin for the final product, I will use a mix of 3-dimensional blossoms and pressed. If we are creating a pressed frame and everything needs to be flattened, I will start with the thinnest blossoms first. They will need the least amount of attention over the span of drying.


Pressed Floral
As I create this floral lasagna in the press I like to keep similar floral thicknesses on the same level. It helps tremendously to have a consistent dry. Thinner flowers and foliage I like to cut first and place throughout thicker layers.


The thicker flowers (peonies, dahlias, roses, ranunculus, chrysanthemums) are placed in a microwave press to remove moisture.


I don’t like having two layers of thick flowers next to each other. It creates moisture in the cardboard and inevitably mold. Over the weeks I will change papers and tighten the press. Eliminating moisture takes away the opportunity of mold creating.
3-Dimensional Flowers
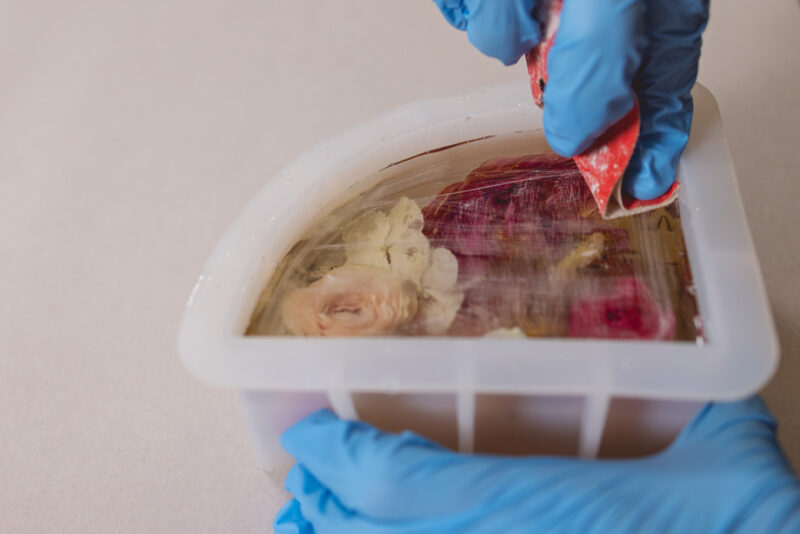
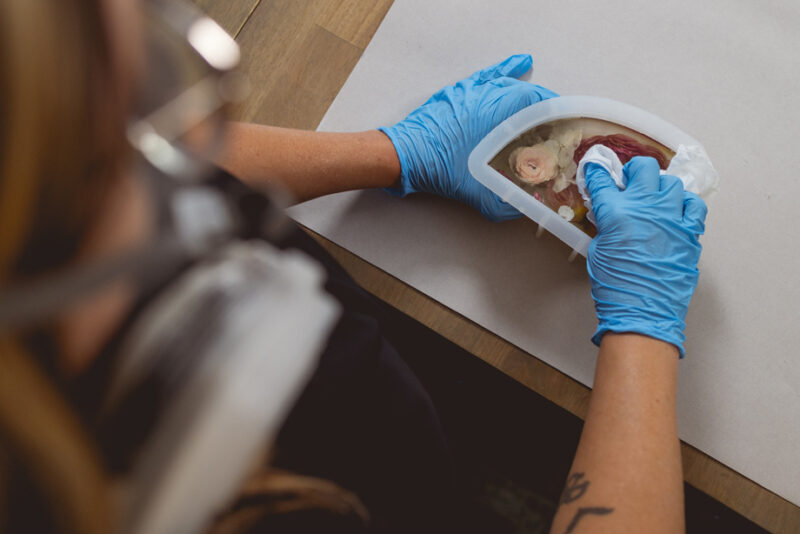
I dry our 3-dimensional blossoms in silica. The silica draws the moisture out of the petals keeping the colors as close as possible to how they naturally occurred. I cut all of the heads off the flowers and set rows of flowers in the silica. Several layers of flowers can sit in one container. Each container is marked for the client.


I like to keep the flowers in their press/silica for about six weeks. Thicker flowers, longer if necessary. It is so important to make sure they are fully dry. If not, the flowers will rot in the resin and ruin the final product.


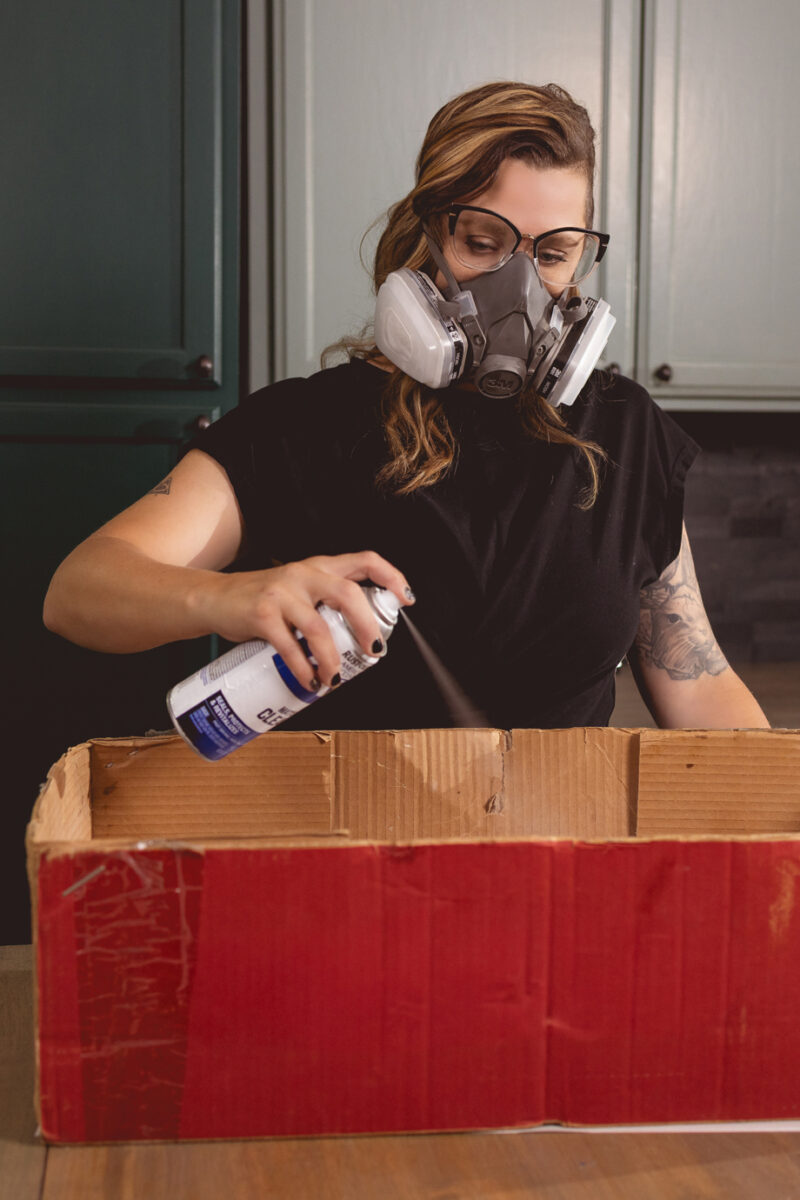
Once everything is successfully dried we seal the flowers with a UV matte spray. This keeps the flowers from creating bubbles in the resin and also provides protection from the heat during the curing process. It allows pressed frames protection from sun exposure.
Once the flowers are fully sealed and dry then we can create the “creative” part of the project. Until then, we wait.
Resin Work Process
Resin is poured into silicone molds by layers. The two-part resin mixture needs to be poured and stirred exactly to manufacture suggestions. It is quite a finicky product. Room temperature and humidity play a role in the final product. Winter designs take more time as our studio is in the Sierra Nevada climate—rain and snow in the winter months mean we can’t always pour. Microbubbling, discoloration, flash curing, and the resin not hardening are all possibilities if it decides it doesn’t want to play nice that day.


When the flowers are successfully covered in resin and there are no pieces of floral poking through the top, I let the resin dry for a week. This allows the complete structure to harden as one unit and provides a surface that I can sand. If I sand too soon from pouring the bulk, it becomes gummy and not a desired texture creating a more of a mess than help.
After sanding I clean the top with a baby wipe to get off resin dust.
The last layer is table top resin. I spray the top with alcohol before pouring the table top resin to help the thin layer slide and move more freely. The table top resin I use is not self leveling, which requires extra attention.


After the final pour, the resin piece is left to harden. After sitting a week in the mold I am able to take the resin piece out revealing any spots that might need more attention. I pass the items off to my husband, Phil, who does all of the final touches and polishing in our shop.


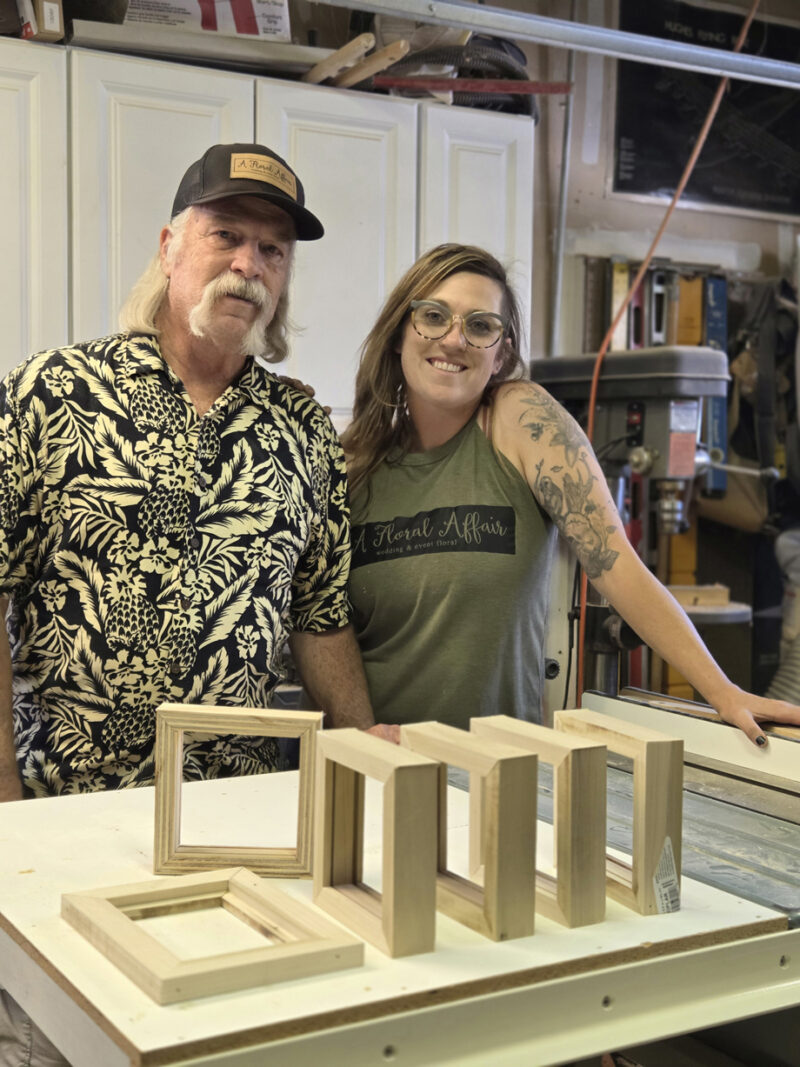
Creating Frames
In the wood shop, my dad and I create our poplar frames. I love the hardness of poplar that allows us to create better frames than the clear pine we started out with. The wood has brown, black, and lime green tones in addition to the soft buttery wood tone that stains just amazingly. Each piece is beautiful and unique in it’s own way, which is part of The Bride’s Floral Mortician’s frame of mind.
I have worked in the shop with my Dad since I was a little girl. I have sawyered for him at jobs growing up and when he’s helping me out at my home. I’m familiar with power tools and there isn’t anything he won’t let me do. He does always remind me to watch my hands! Not that it’s ever been an issue, but when I was four years old I thought I was holding his finger on his hand because he had an incident on the table saw. Turns out I was just applying pressure, but safety has always been the number one rule when I’m in the shop. One day I aspire to be an eagle soaring, but for now, I am just a turkey flopping around on the ground. (Inside dad joke.) It is quite fun when I can correct his thinking and show him, I really do know what I’m doing. I’m on my way to earning my eagle feathers.
After the frames are complete in the wood shop I stain them to match the client’s offer. Right now we offer three finishes: Black, Espresso, and Rustic.
The hardware is placed and screwed in. The only thing left is to put the finished pressed design in.


Pressed Flower Process
The flowers are glued to a piece of glass with a neutral ph adhesive. Layer by layer the design is created.

After a few days and the glue has dried, I set the second set of glass on top and seal the design.


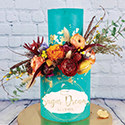
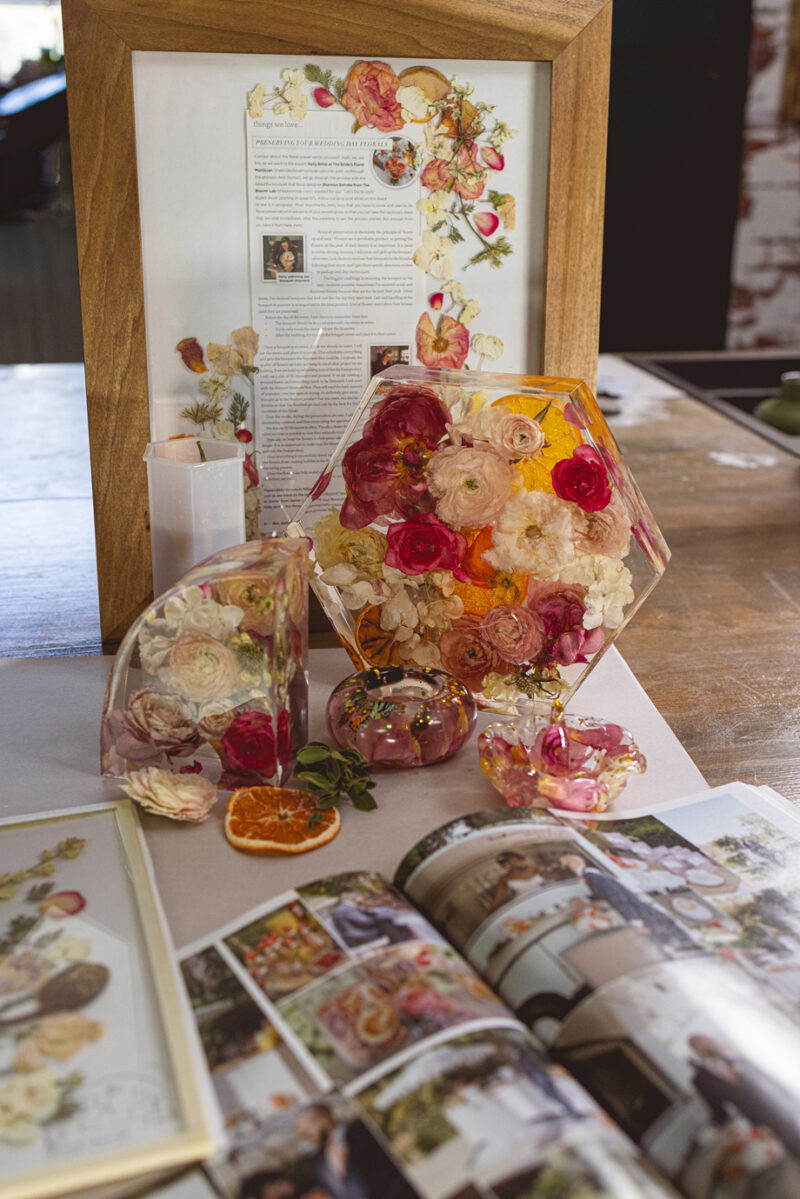
When I first started created designs from the “Let’s Do Brunch” styled shoot, it was at first to show the process in real time, but then I leaned into it a little more. It became a challenge of how many things could I make from one singular bouquet and boutonniere? From the rose petals that had fallen off to the larger full blossoms I was able to create 10 beautiful and meaningful keepsakes.
Thanks Kelly! Follow our “Let’s Do Brunch” blog post series to see more photos from our styled shoot!
Special thanks to Daniel from Daniel Cewinski Photography for photographing Kelly during the floral preservation process this blog series. Photos of Kelly’s dad and Kelly’s husband, Phillip Bride, provided by Kelly.