

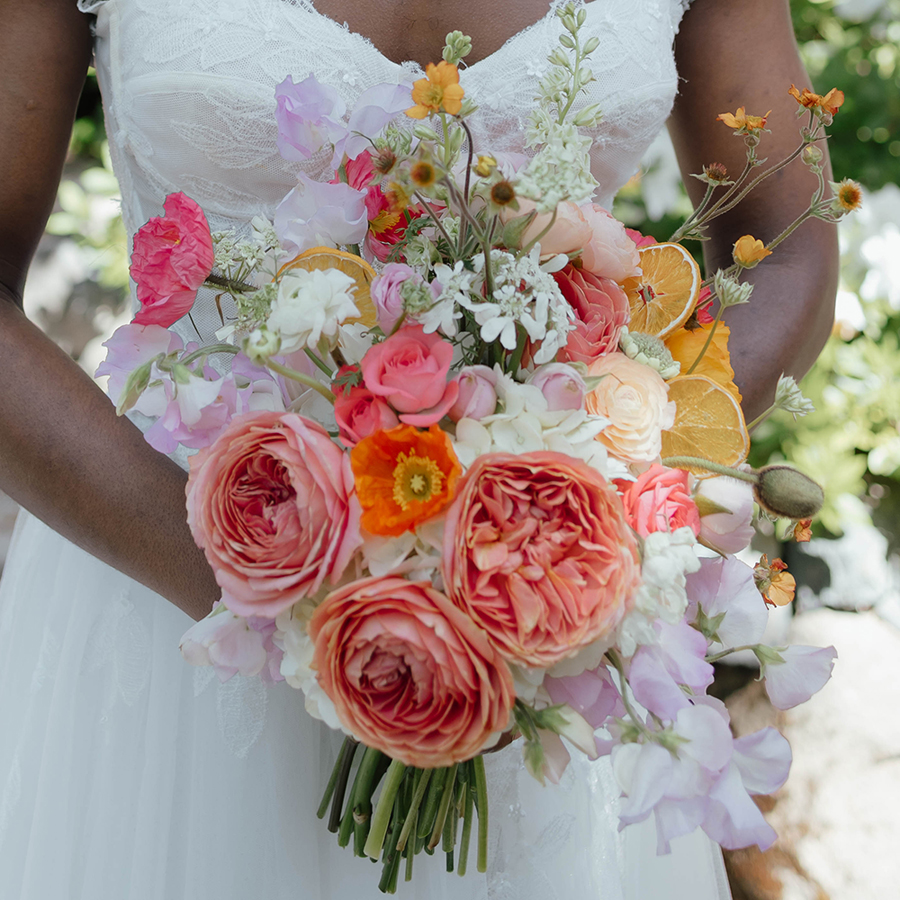
Curious about the floral preservation process? Yeah, we are too, so we went to the expert: Kelly Bride at The Bride’s Floral Mortician to walk us through the process! And (bonus), we go through the process with the beautiful bouquet that floral designer Shannon Behnke from The Bloom Lab created for our “Let’s Do Brunch” styled shoot with wholesale flowers from J&D Wholesale Flowers, with photographer Daniel Cewinski Photography documenting Kelly and her process along the way!
So where to start, you ask? Well, most importantly, Kelly says that you have to know and plan to do floral preservation in advance of your wedding day so that you can take the necessary steps that are vital immediately after the wedding to get the process started. Kelly says,
“Bouquet preservation is absolutely the principle of “hurry up and wait.” Flowers are a perishable product, so getting the flowers at the peak of their beauty is so important. If a client is within driving distance, I will come and pick up the bouquet; otherwise, I ask clients to send me their bouquets by the Monday following their event, and I give them specific directions on how to package and ship the bouquet.
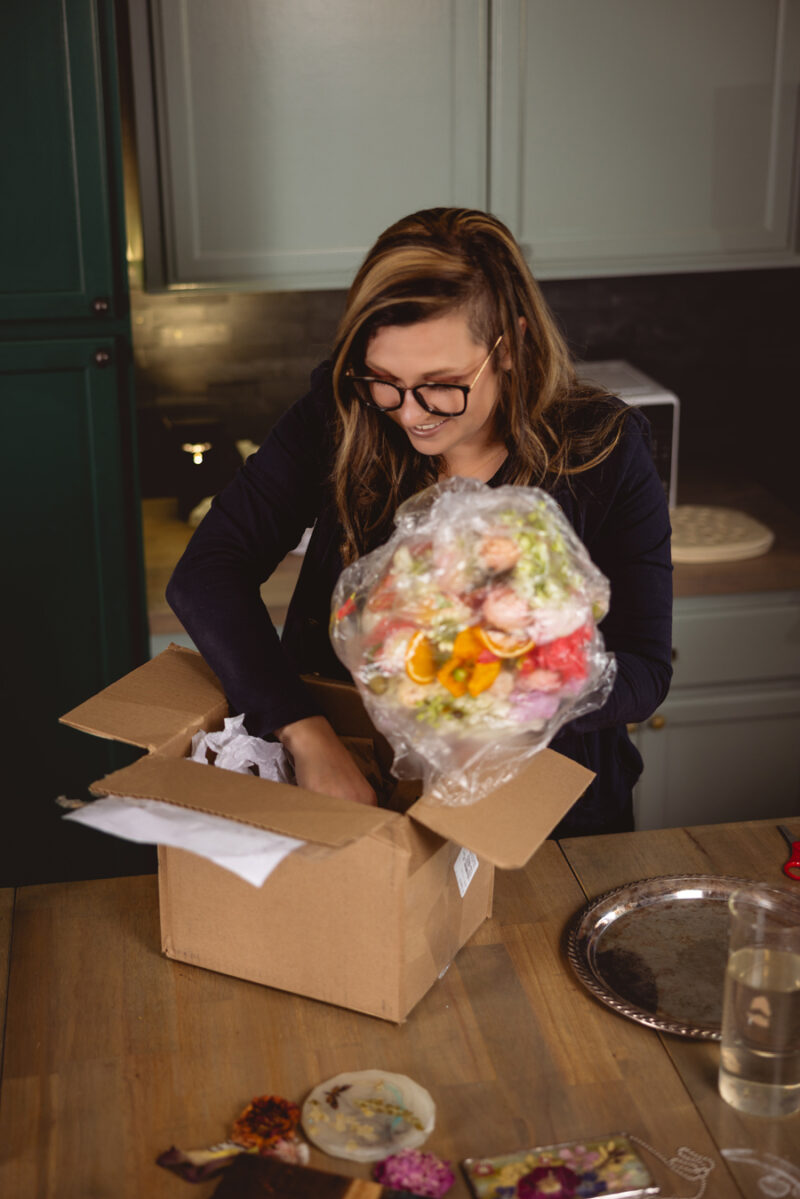
The biggest challenge is receiving the bouquet in the best condition possible. Sometimes I’ve received moldy and shattered flowers because they are too far past their peak. Other times, I’ve received bouquets that look just like the day they were used. Care and handling of the bouquet at an event is so important to the final product. A lot of flowers won’t show their bruises until they are preserved.
Before the day of the event, I ask clients to remember these tips:
—The bouquet should be in a cool space with the stems in water.
—Try to only touch the stems and not the blossoms.
—After the wedding, try to recut the bouquet stems and place it in fresh water.
Once a bouquet is received, if it is not already in water, I will cut the stems and place it in water. This rehydrates everything and gets the blossoms the happiest they could be. I evaluate the quality of flowers we have and keep in mind what project we are making. If we are making something in resin for the final product, I will use a mix of 3D blossoms and pressed. If we are creating a pressed frame and everything needs to be flattened, I will start with the thinnest blossoms first. They will need the least amount of attention over the span of drying. So definitely give some thought as to the finished product that you want, but also be flexible so that the finished product can be the best for the condition of the florals.

Over the weeks, during the preservation process, I will change papers and tighten the press, eliminating moisture and thus minimizing the opportunity for mold creation.
We dry our 3D blossoms in silica. The silica draws the moisture out of the blossoms keeping the colors as close as possible to how they naturally occurred.
Typically, we keep the flowers in their press/silica for about six weeks; thicker flowers will take longer. It is so important to make sure the blossoms are fully dry. If not, they will rot in the resin and ruin the final product.
Once everything is successfully dried, we seal the flowers with a UV matte spray. This keeps the flowers from creating bubbles in the Resin and also provides protection from the heat during the curing process.
Once the flowers are fully sealed and dry then we can create the “creative” part of the project. Until then, we wait.”
Thanks Kelly!
Be sure to tune in next week, when we’ll walk you through the next part of the process, and in the meantime, follow our “Let’s Do Brunch” blog post series so that you can see all the gorgeous photos of Shannon’s beautiful bouquet before Kelly preserves it!
Special thanks to Daniel from Daniel Cewinski Photography for photographing Kelly during the floral preservation process this blog series.